Panasonic RC-55 Clock Radio Tear-Down and 24-Hour Modification
2019.01.08 | Yuki ReaI have been looking for a retro futuristic clock with a Vacuum Fluorescent Display (VFD) for over a year to complete my 1980s inspired living room aesthetic. While VFD clocks are pretty common, they usually have a basic wood grain or gaudy chrome finish, I wanted something minimalist and a bit more interesting. One day while I was going though some old boxes at work, I came across a Panasonic RC-55 and immediately knew I have found what I was looking for. The Panasonic RC-55 usually sells for $18+ USD secondhand, the red and silver variants can be as much as $50. I got lucky and found a white model in box with the manual for $9 on eBay. The only issue with mine is the last digit on the VFD display is brighter than the rest, this is only barely noticeable unless the display brightness is turned down to "low". Since there is almost no information on the internet about this gorgeous retro clock radio, I decided to provide scans of the manual and tear-down photos of the internal case assembly and electronics.


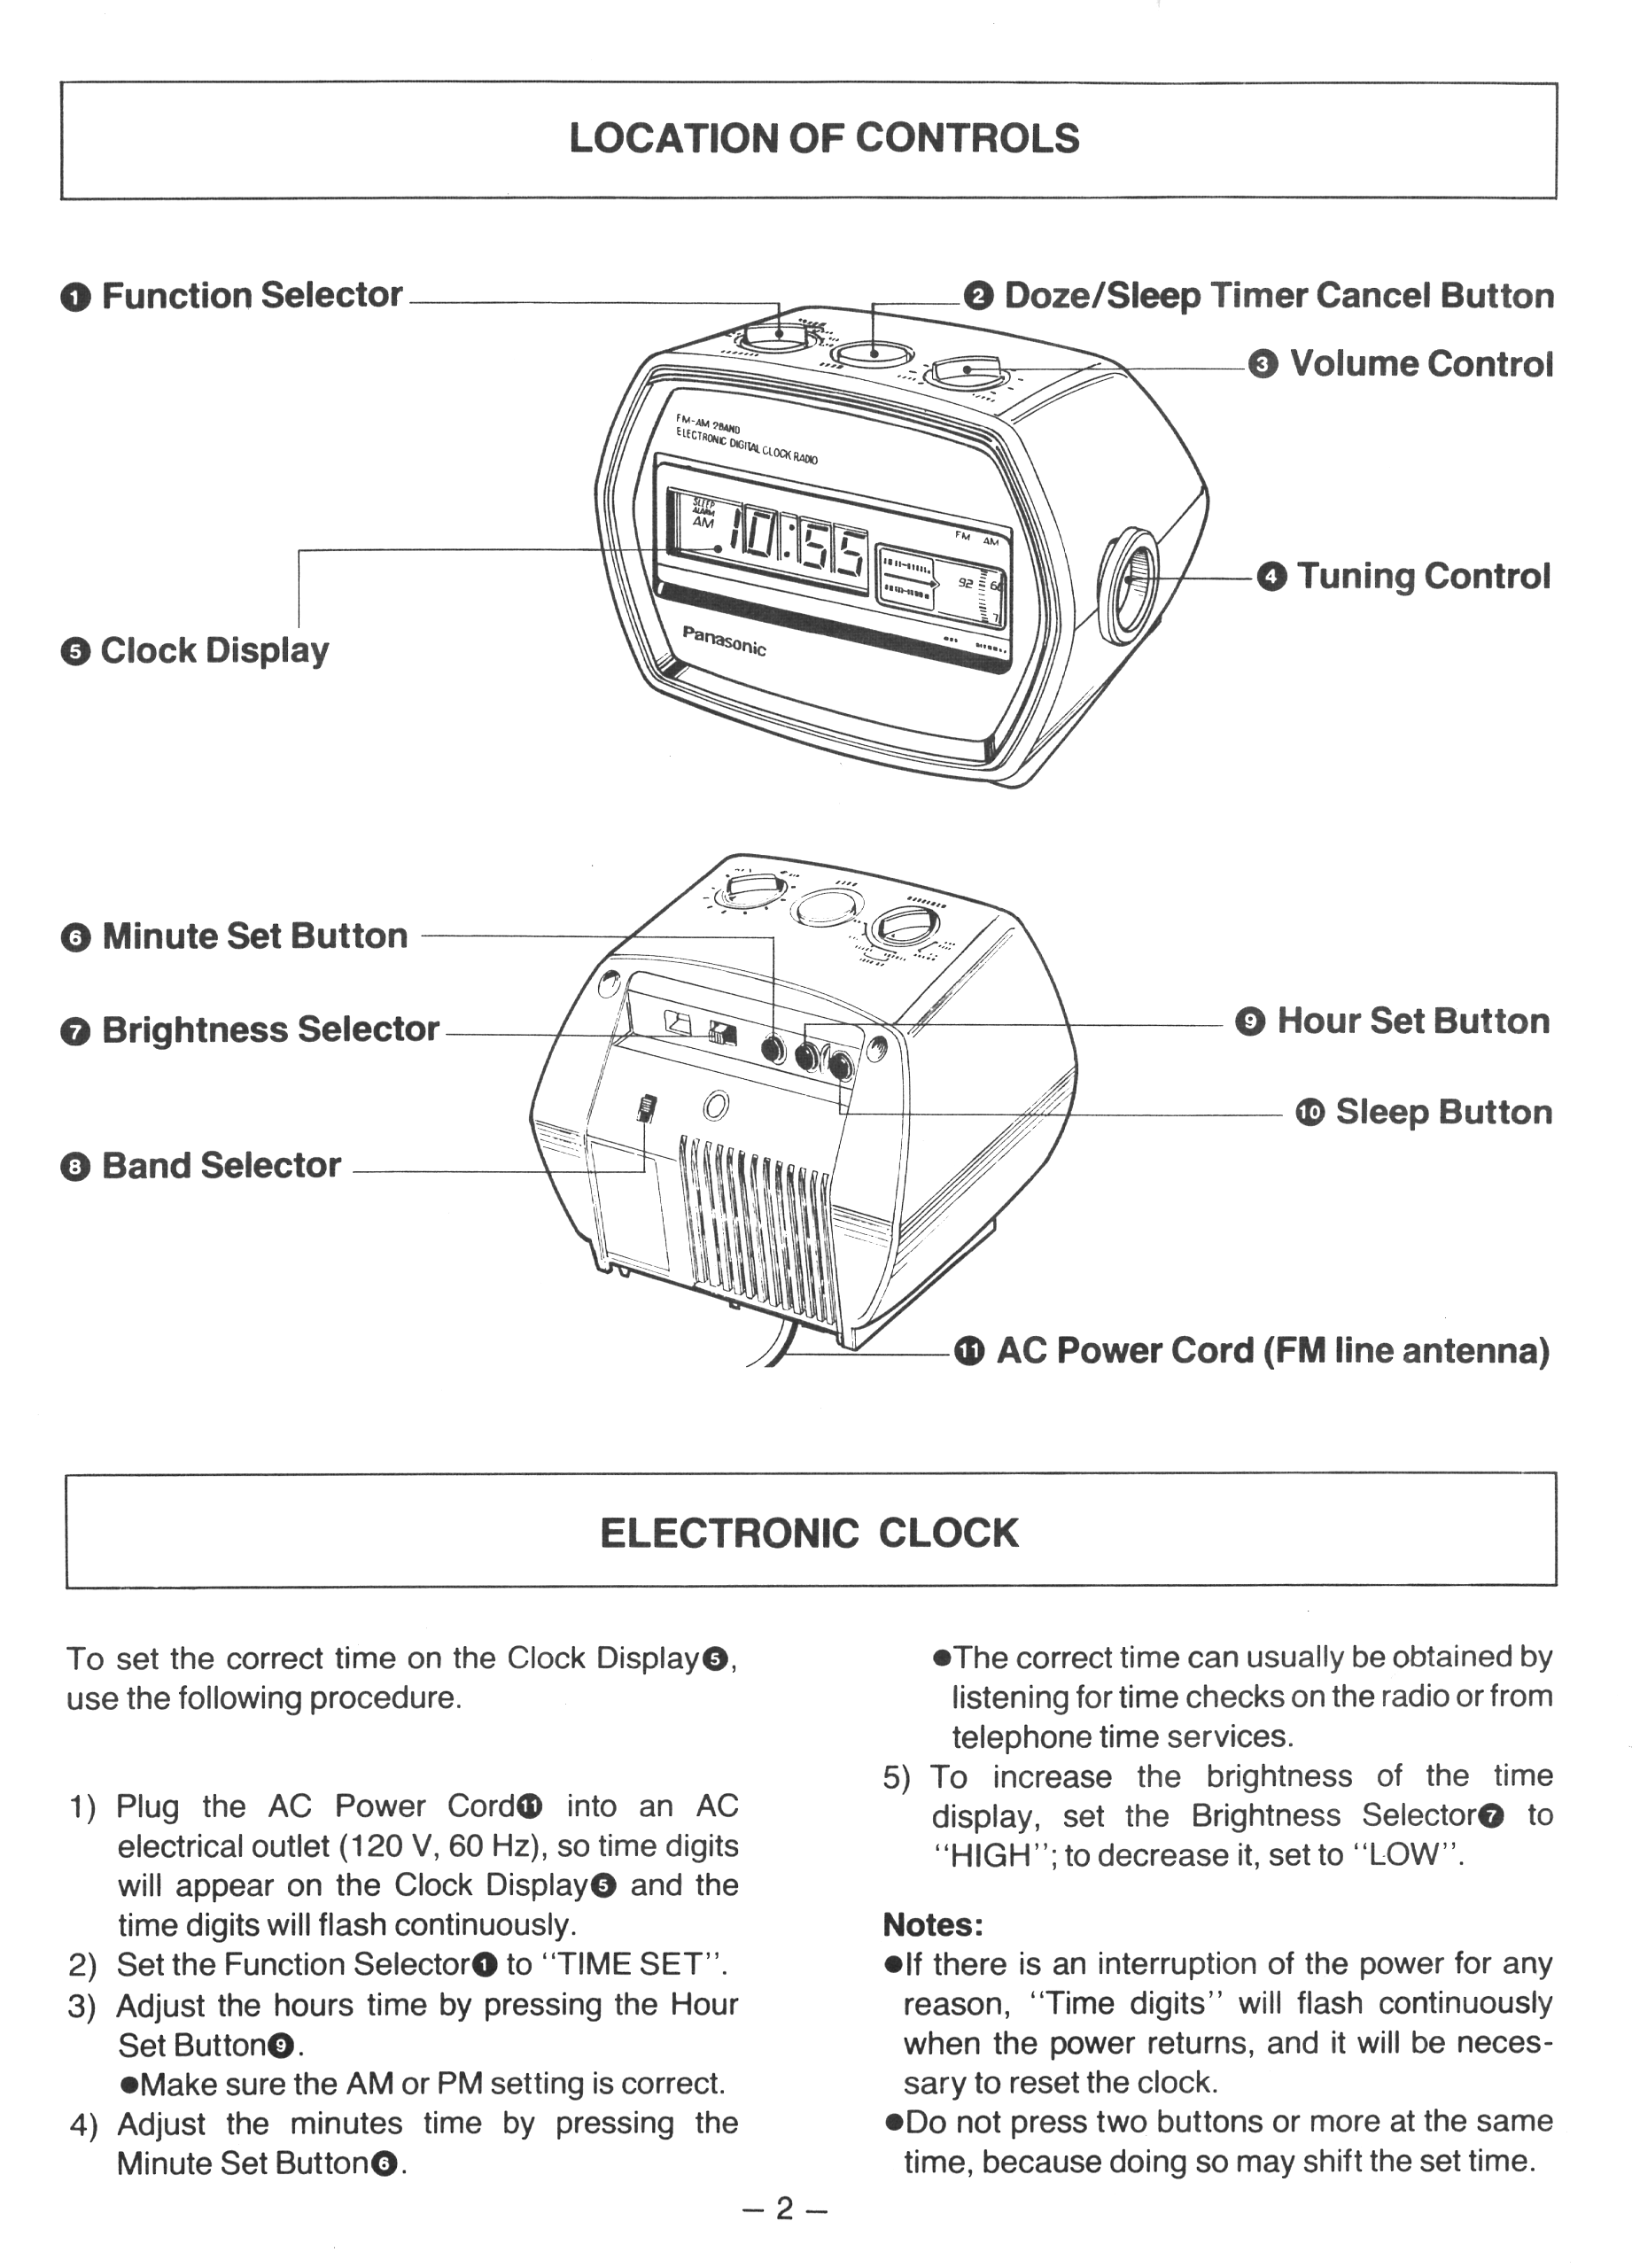
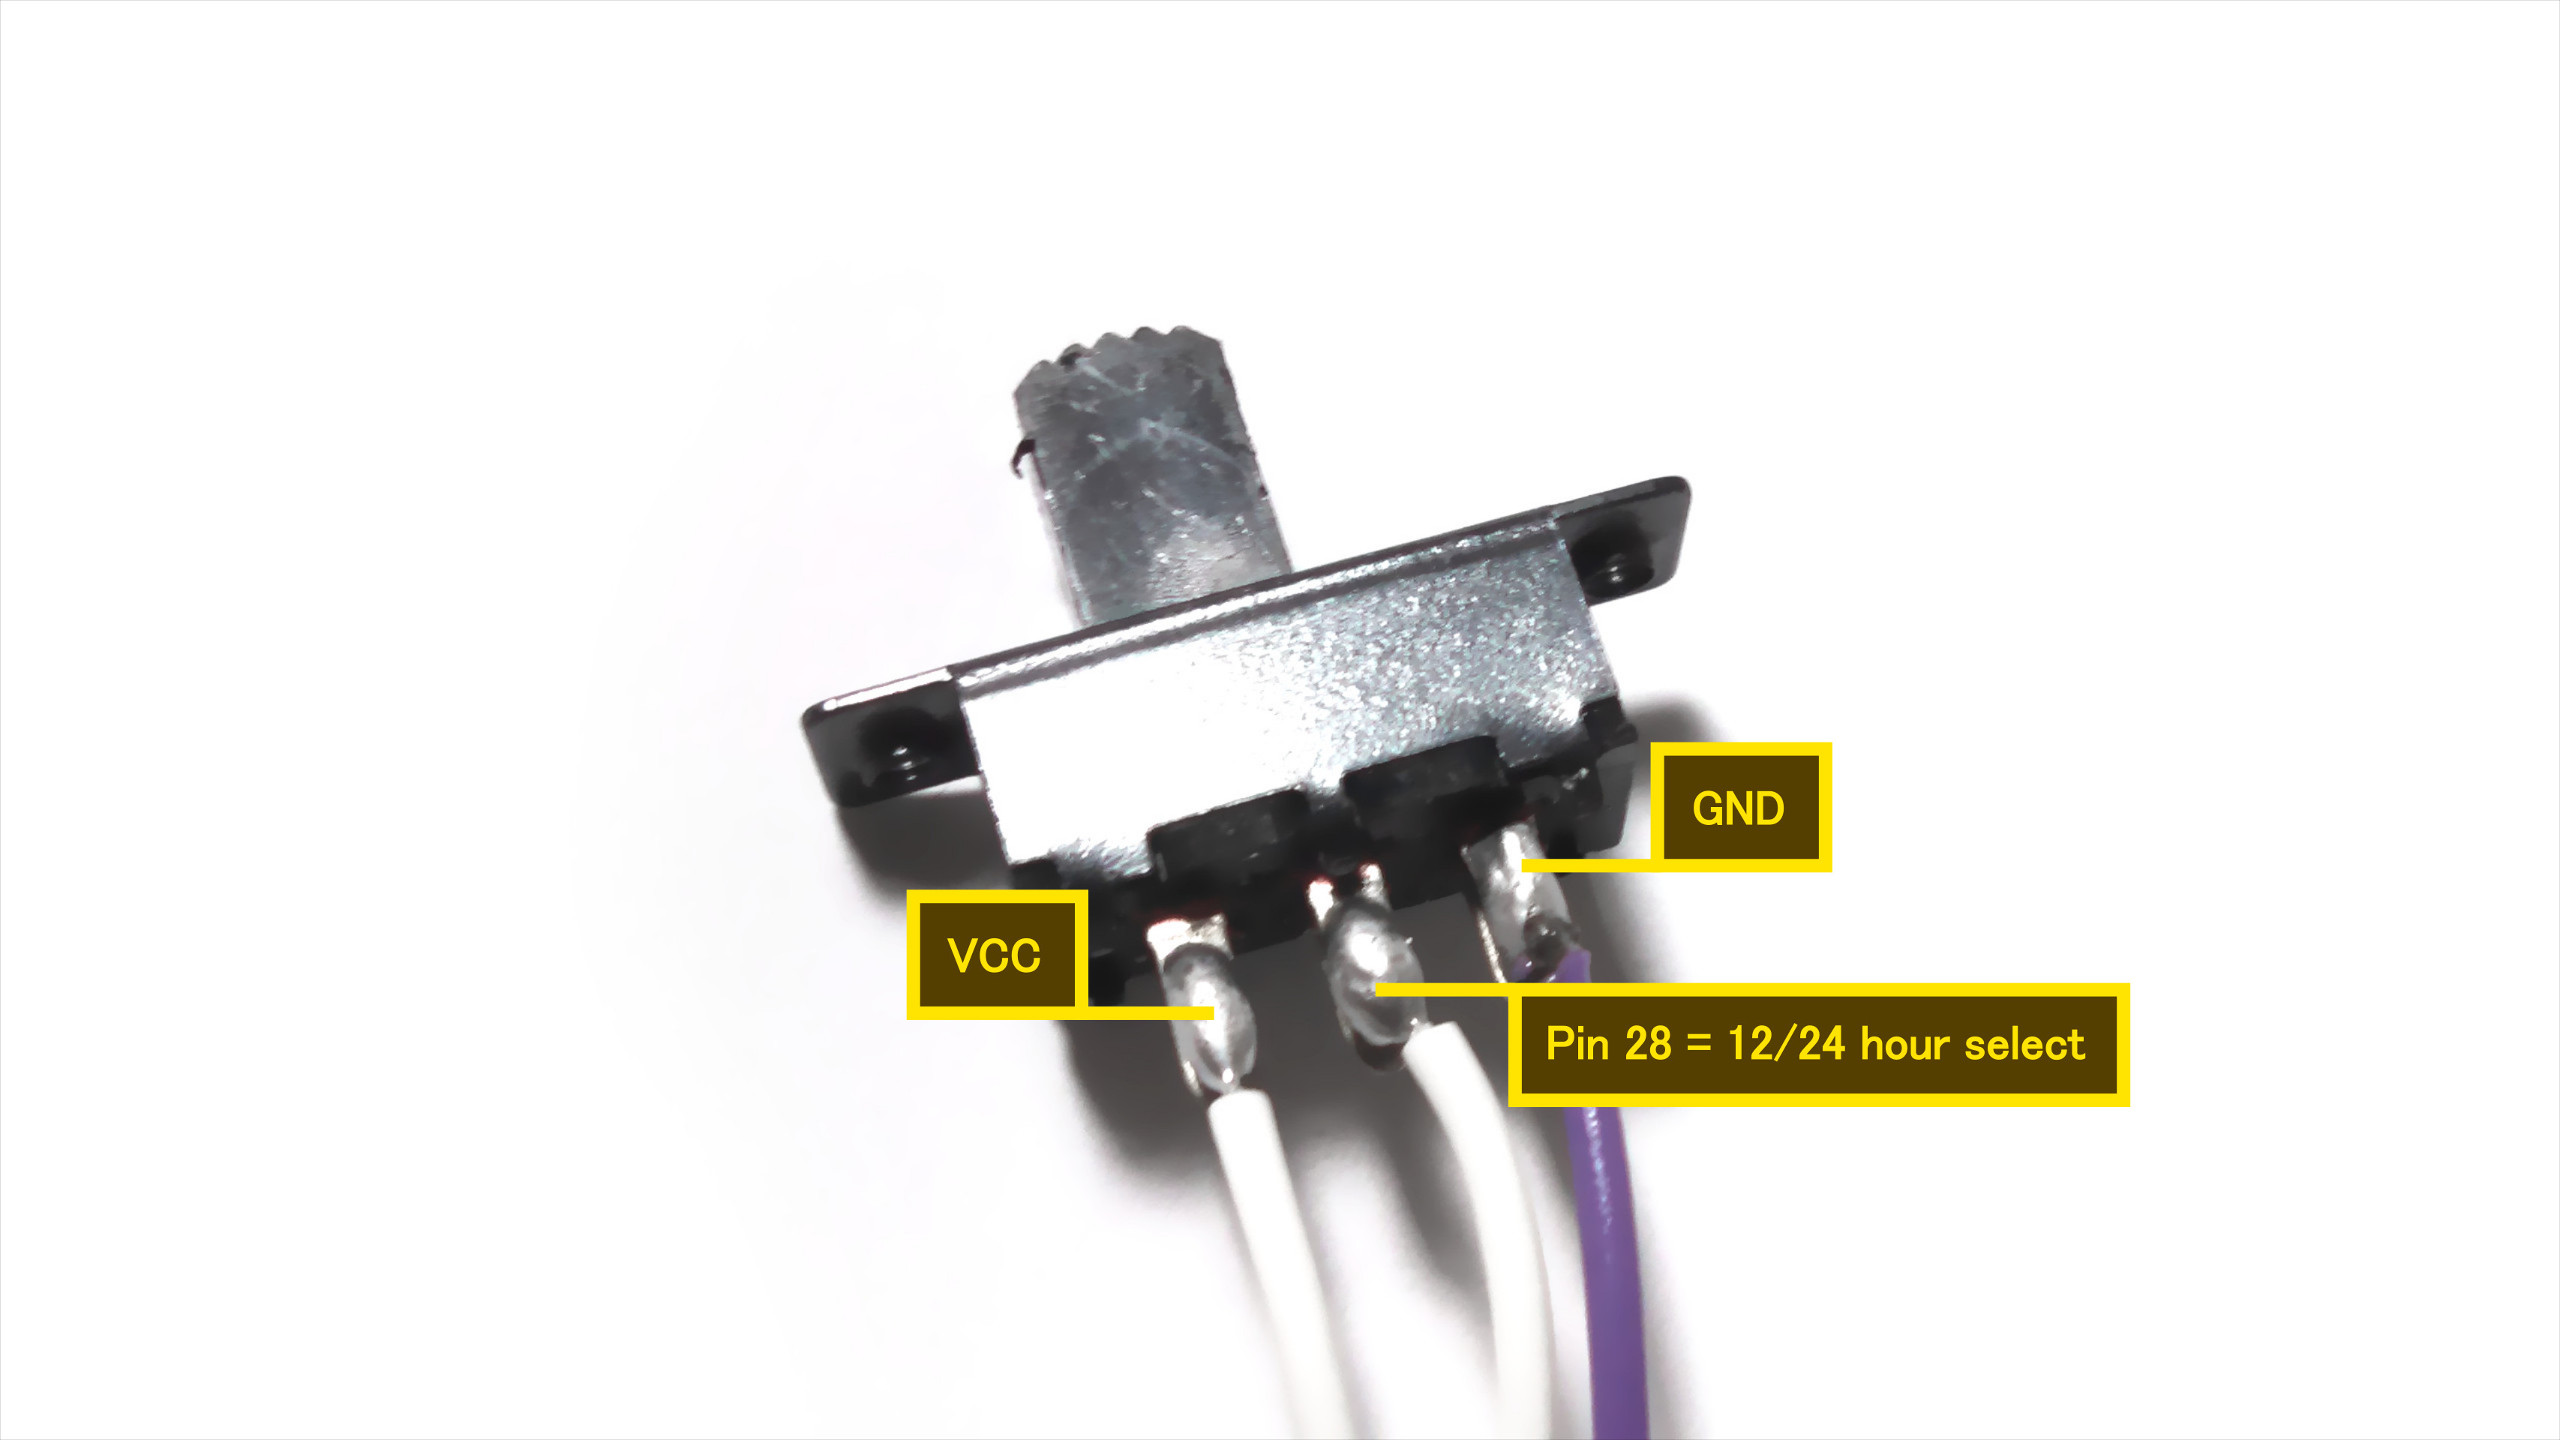
This clock features a unique 1980s space age design with a large black plastic display behind which resides the blue VFD display and a tastefully understated radio tuning dial. Bevels to the top and bottom of the display add a bit of extra detail to the face of the clock. The whole package looks like it could have been designed to be the head of a mid century robot. A single knob on the right side directly controls the radio tuner and frequency indicator dial. Atop the case is a mode selector on the left, "doze" button in the center, and a volume dial on the right. The volume dial only controls the volume of the radio and does not control alarm volume. The alarm volume is fixed and is a bit too loud in my opinion, this could be solved by installing a resistor or potentiometer inline with the speaker to limit maximum volume. I live in a small apartment and the default alarm volume is loud enough to wake my neighbors. The RC-55 internals are well designed, the circuit boards mount in the case via rails molded into the plastic. The speaker connects to the rest of the assembly via leaf spring contacts so there is no need to unplug cables when disassembling the clock. Only three screws need to be removed in order to disassemble the unit. In the second image you can see the 12/14 hour jumper which I installed into an opening that I cut out of a blank switch molding in the case.


Removing the metal shield labeled "IC1" reveals The FM/AM radio IC which is a UTC TA7614AP. Surrounding the radio IC are a series of Mitsumi potentiometers for signal tuning. The VFD display itself is manufactured by Matsushita Electric, now Panasonic. The clock IC is a Texas Instruments TMS3451NL-R.


Since the RC-55 uses the TMS3451NL-R clock IC which has 12 and 24 hour display modes that are switchable by pulling pin 28 high or low, enabling 24 hour time display is trivial. To do this, cut the trace between pin 28 and GND or remove the IC and lift pin 28 out of the board, then connect pin 28 to VCC/VSS. You can also add a switch or jumper like I did so that you can switch between modes with out opening up the clock and undoing the modification. The TMS3451NL-R shares it's datasheet with the UTC LM8560, this datasheet can be found here: UTC LM8560 / TMS3451NL-R Datasheet

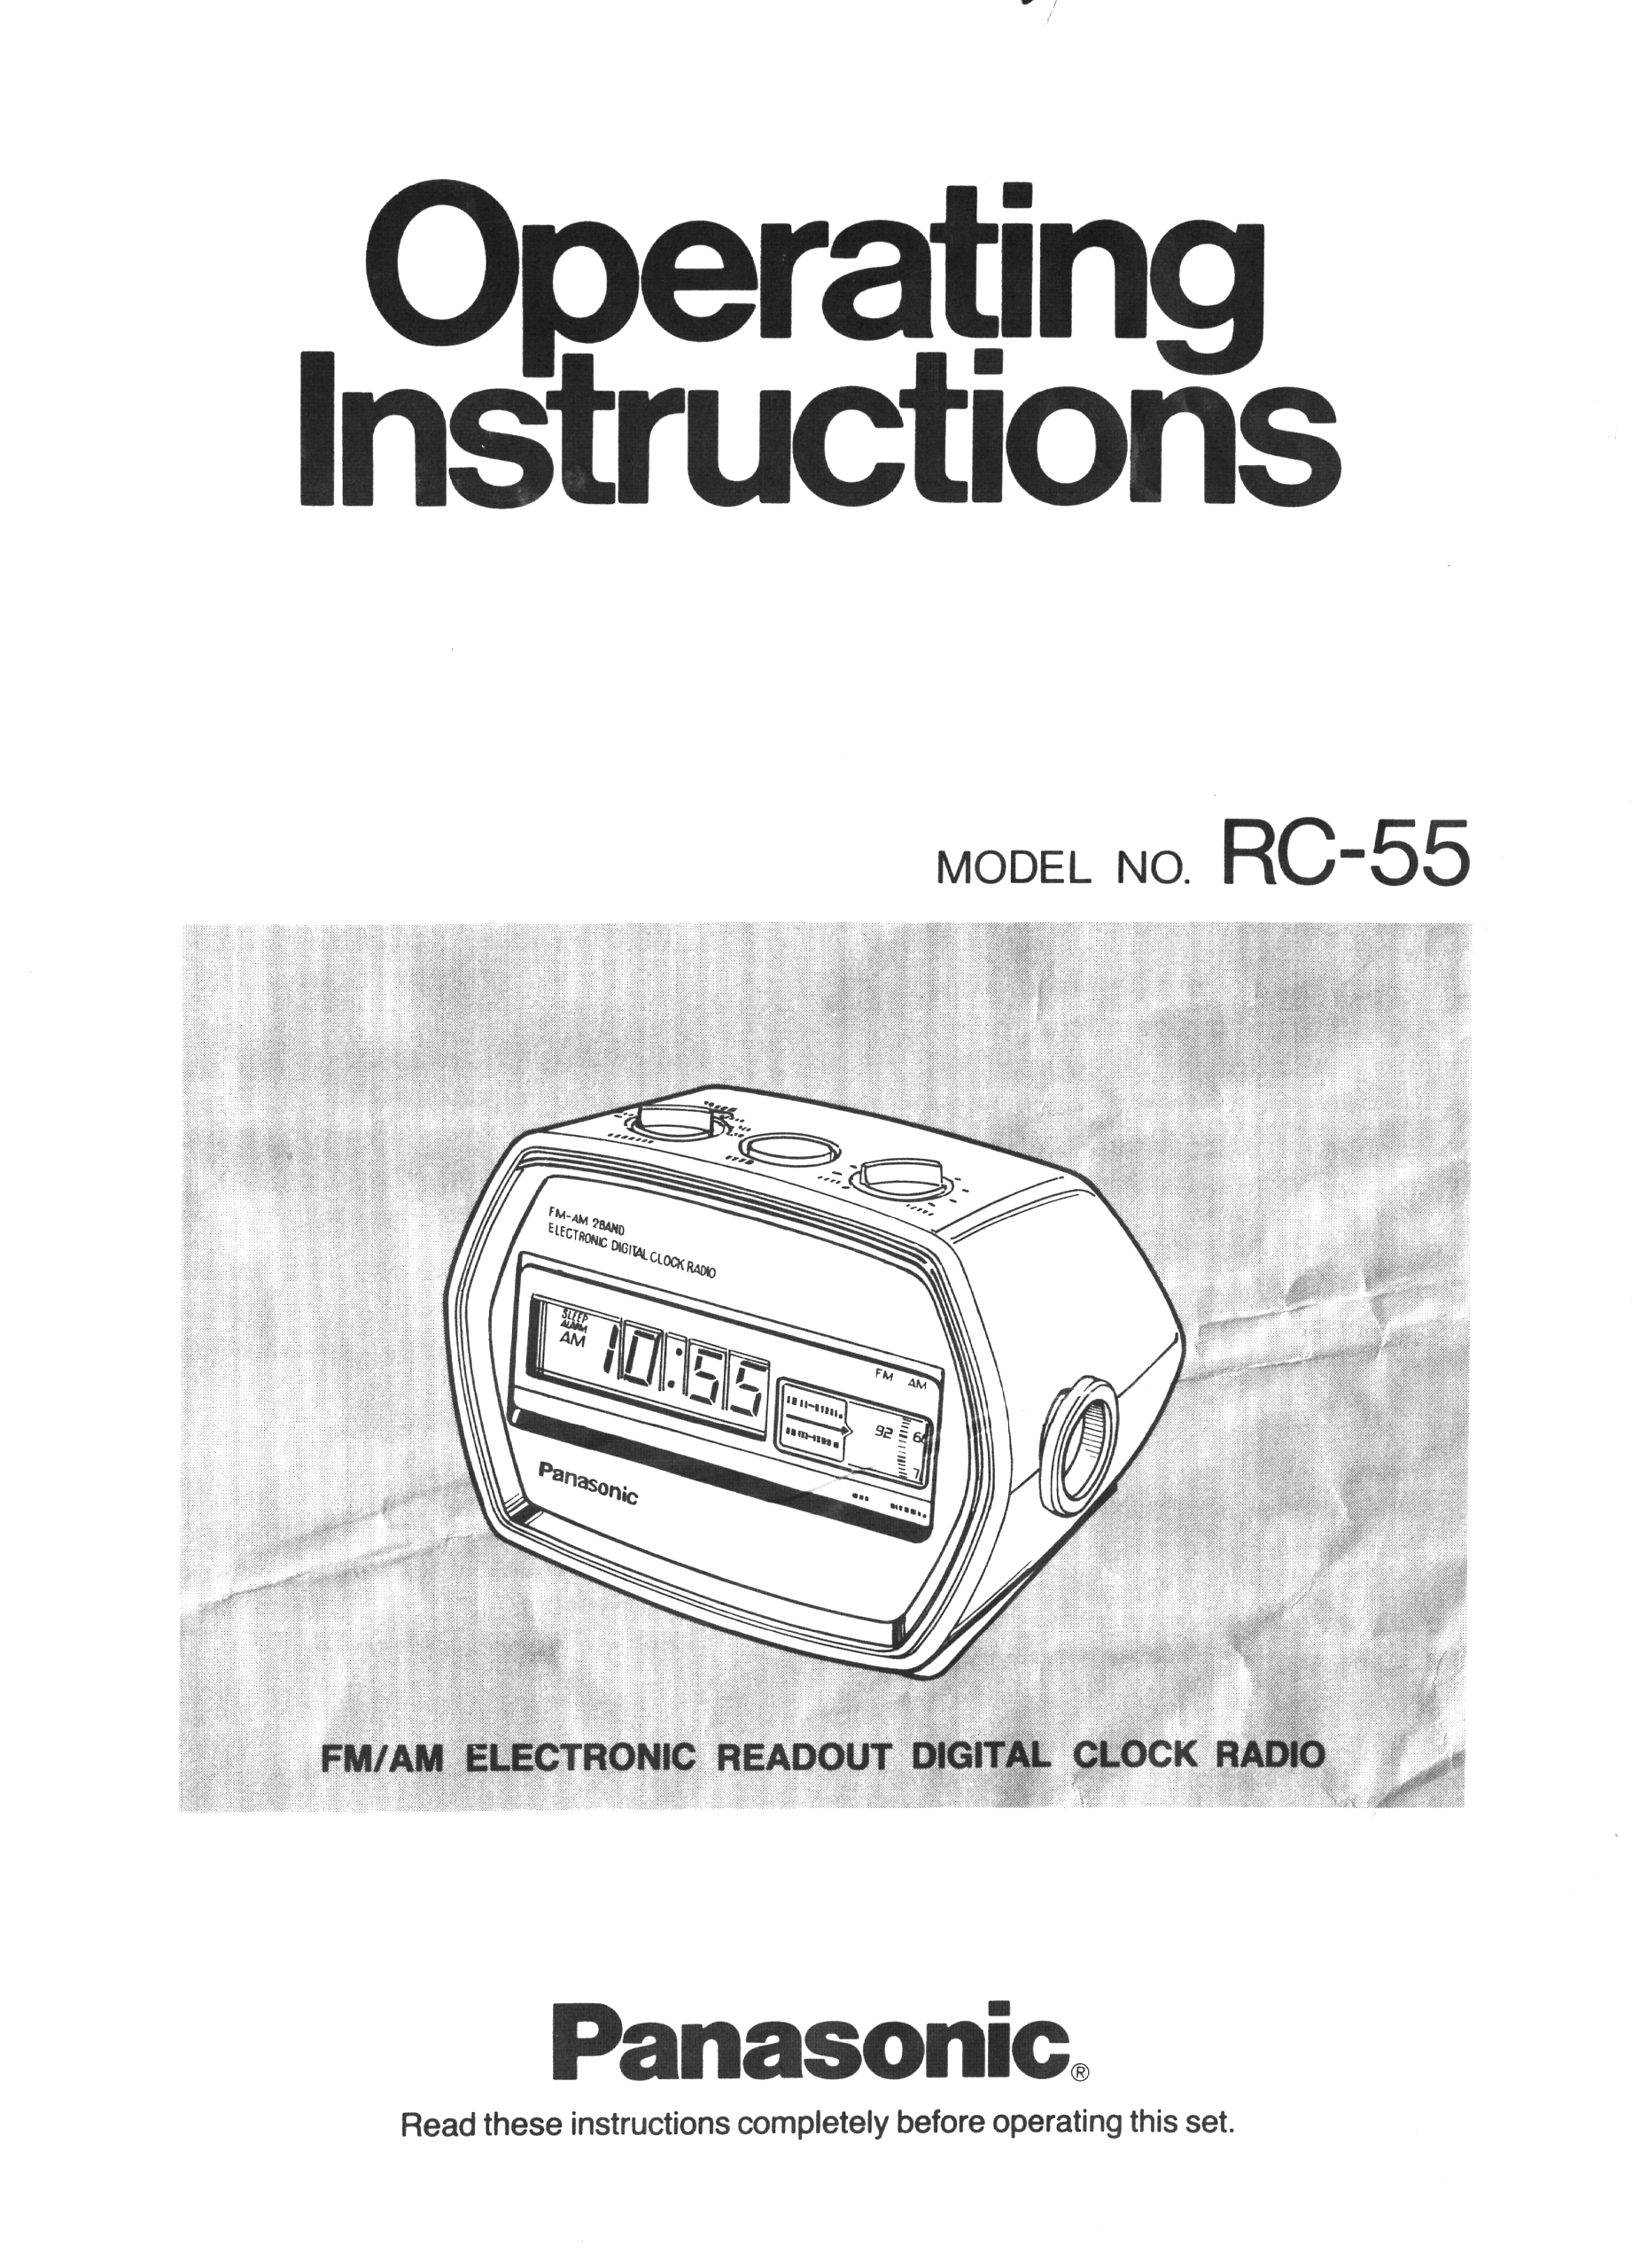
I have scanned the original Operating Instructions manual and posted them below.